Note: this page may take a while to load due to its size (381 kB).
Minolta has announced a new Scan Elite 5400 film scanner. As its name imply, it will scan at 5400 dpi.
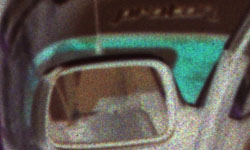
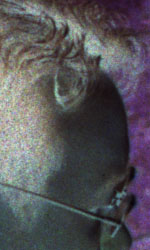
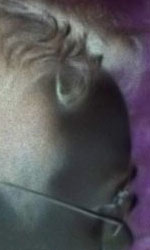
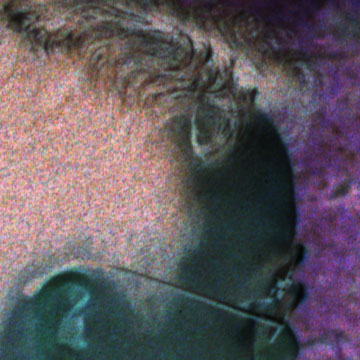
My primary film is the Fuji Superia 400. I wonder if the new scanner will improve the scans over my Scan Elite II. Currently, I am not very happy with the scans at 2820 dpi. Although it is generally accepted that 2820 dpi is sufficient for high ISO color film, I find the grain poorly resolved. Here are two examples:
These images are for illustration only. Click on them to download the raw images. They are 250 x 150 images cropped from the original 2x multi-pass 16-bit raw scan at 2820 dpi. No resizing or even color conversion is done: they remain in their negative form. The files are 297 kB each. You need an image viewer that supports 16-bit TIFF. (The files are not LZW-compressed to support more viewers. However, simple viewers may not fully support RGBI TIFFs.)
The JPEQ versions are converted to 8-bit and the Levels adjusted (white point set to 120). Saved as JPEQ quality 8 in Photoshop 6.0.
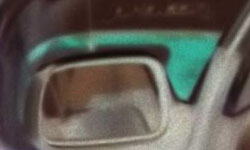
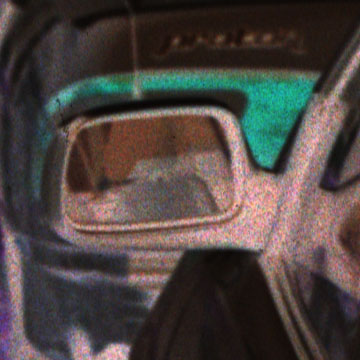
The full-frame image is shown here. The above cropped images are only 40 x 24 in this image!
Minolta AF 28mm f/2 lens. f/3.5 1/1000
Fuji Superia 400
Minolta Scan Elite II
Scanned using VueScan. 64-bit raw scan at 2820 dpi. Rescanned to 24-bit TIFF with film type = Fuji Super HG ISO 100 Gen 2, Adobe color space, auto-levels with black point at 8% and white point at 3%.
Scaled using bilinear interpolation in Adobe Photoshop 6.0. Sharpened (USM 90%, 1.3 radius, threshold 5) before scaling. Converted to JPEG with quality 7.
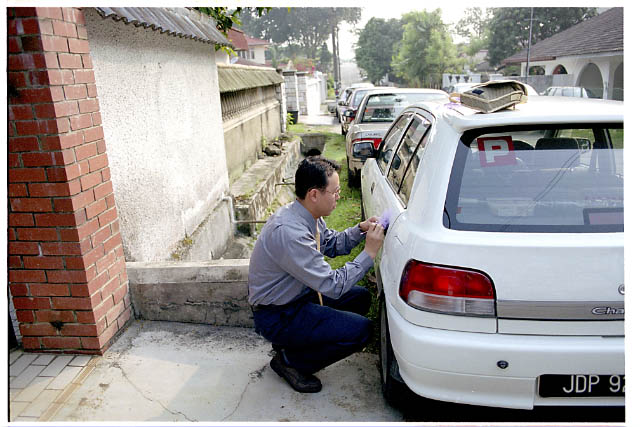
How does it compare to a Fuji Frontier scan?

Now, this is how Superia 400 looks like! :-)
Scanned as a 1840 x 1232 JPEG image. Resized to 640 x 429 using bilinear interpolation in Photoshop 6.0. No sharpening is done. Saved as JPEG (quality 7).
The grain make the images at 100% unusable, unless they are down-sized or processed. Here is an example that is processed through NeatImage:
Original

NeatImage'd
These are 800 x 450 images cropped from the original 2820 dpi scan. No resizing and sharpening is done. Saved as JPEG quality 70. ACDSee 4.0 is used.
If nothing else, the lack of grain makes it easier to compress (39 kB vs 55 kB at the same quality).
NeatImage 2.2 demo version is used. It is quite slow. The 4032 x 2688 image took slightly over 3 minutes to process on a Pentium-4 2.4 GHz PC with 512 MB RAM.
How about the original two crops? Let's see.
The image is converted from 16 to 8 bit using Photoshop 6.0. This is because the demo version of NeatImage accepts 8-bit images only. These images are not cropped at the exact coordinates as the originals. The output from NeatImage is JPEQ, quality unknown. It is cropped using ACDSee 4.0 and saved as BMP. The levels is adjusted and saved as JPEQ (quality 8) in Photoshop 6.0.
The new images are slightly softer -- I may have overspecified the strength -- and fine details are lost (not shown here). However, I think the tradeoff is worth it. The removal of grain makes it possible to use my film scanner to its fullest extent!
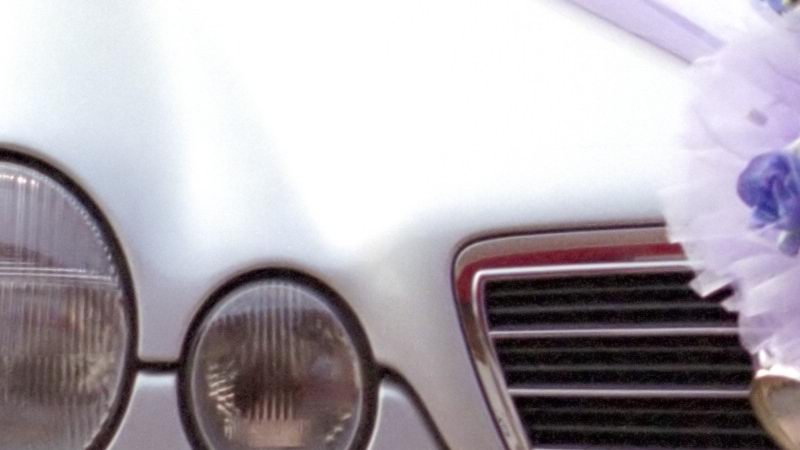
These images are for illustration only. Click on them to download the unprocessed images. They are 360 x 360 images cropped from the 16-bit 4000 dpi scan. No resizing or even color conversion is done: they remain in their negative form. The files are 764 kB each. You need an image viewer that supports 16-bit TIFF. (The files are not LZW-compressed to support more viewers.)
The JPEQ versions are converted to 8-bit. Saved as JPEQ quality 8 in Photoshop 6.0.
Note: Vuescan is used to scan the negatives. However, my friend is not a Vuescan user and my instructions may have been incomplete and imprecise. Thus, the scans are most likely not raw scans. (One clue is that the image is quite bright. Raw scans are pretty dark.) As such, I cannot really do a true comparison.
visits since 18th Apr 2003.